Photoshop's dodge tool has worked since 1990
The darkroom gestures that moved into the menu — and still work exactly the same way.
What the hands were doing
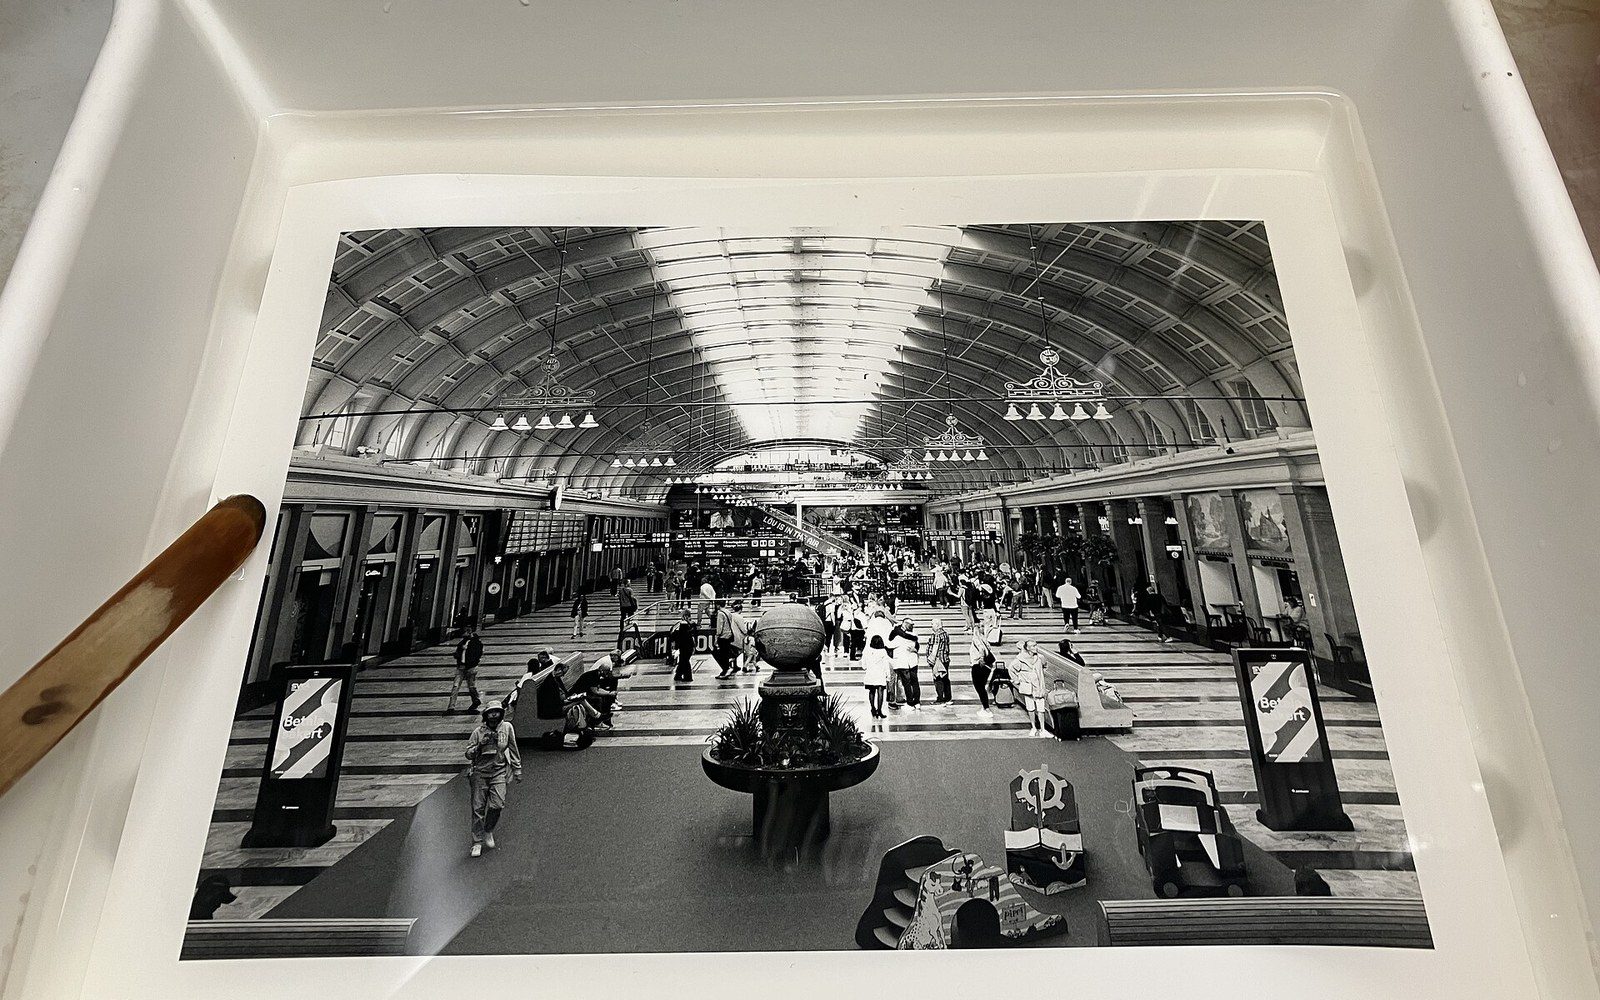
In a wet darkroom, the enlarger projects light onto photographic paper. Leave it for the same amount of time everywhere and the print comes out flat — a sky holds no detail, a shadow stays a muddy void. So the printer moves a hand, or a piece of wire with a small disc of card taped to it, between the lens and the paper. Hold it over the sky for part of the exposure and the sky gets less light, stays lighter in tone: that is dodging. Let the rest of the exposure fall on a shadow corner uninterrupted, or come back and give that corner a second hit of light, and the shadow deepens: that is burning. Ansel Adams used dodging and burning extensively in printing to realise the tonal intent of his zone system.
The names crossed directly into software. Photoshop's dodge and burn tools have been there since version 1.0, shipped in 1990. Lightroom carries them. darktable, which costs nothing and gives away nothing in the module list, has them. The word is the same; the gesture is the mouse or the stylus; the logic is identical.
How it works in software
Every dodge-and-burn tool is a brush that locally shifts luminosity. Drag it over a region and you are effectively pulling that region's tone curve up (dodge) or down (burn). The controls that matter are three: brush size, hardness and exposure or strength. A hard edge on the brush creates a visible boundary; feathering it softens the transition so the edit reads as light rather than a selection. Keep the strength low — five to ten per cent — and build up in passes. The darkroom printer never committed the full exposure in one movement either.
Where the tools differ across applications is in what they protect. Photoshop's dodge and burn offer a tonal range setting — shadows, midtones, highlights — that concentrates the effect where you intend it and resists it where you do not. Burning midtones in Photoshop leaves deep blacks largely alone. In Lightroom's brush, you are assigning a local exposure offset, which is more versatile but less surgical. In Capture One — Phase One's converter, whose colour tools attract a lot of attention — the same local adjustment system serves dodge and burn, with luminosity masking available to confine the stroke to a tonal range automatically.
The more considered approach, available in any application with layers, is to create a neutral grey layer set to Overlay blending mode. Painting white lifts; painting black darkens. The grey layer itself records the work non-destructively, nothing touches the pixel layer underneath, and the whole edit can be scaled back by lowering opacity. It takes thirty seconds to set up and makes the work completely revisable, which a darkroom print was not.
Why they are still the first thing worth learning
Luminosity masks, AI-driven sky selections and gradient tools all work on regions. Dodge and burn work on intention — the printer decides, stroke by stroke, where the eye should go. A portrait with the eyes carefully held a stop brighter than the rest of the face draws attention without the viewer knowing why. A landscape where the light is chased across the sky the way it looked from the spot reads as a photograph rather than a tone curve ↗ preset applied to the whole frame.
The tools are blunt. Output sharpening requires precision and profile matching; dodging requires judgment. That is exactly why it is worth beginning there, before masking and before grading — because it teaches you to look at a print and ask where the light is actually going rather than where the sliders happen to have put it.