Lightroom separates capture sharpening from output sharpening
Apply it at export. The right amount for a 300 dpi print is the wrong amount for a screen, and the wrong amount at 100% on a monitor is invisible at arm's length.

Why the destination changes everything
A photograph straight out of any raw converter is slightly soft. The softness is real: demosaicing interpolates colour across a grid of single-channel photosites, and the mathematics of reconstruction leave a gentle blur baked into every pixel. Capture sharpening — the modest pass applied early in a raw workflow — corrects for that, and stops there. What people mean when they argue about sharpening, though, is output sharpening: the amount applied at the last moment, tuned to where the image is going.
That destination matters more than most sliders do. Print at 300 dpi on coated paper and the ink dots are small and tightly packed; the eye reads smooth transitions even when the pixel values are quite aggressive. Print on matte paper or canvas and the ink spreads into the surface — the same aggressive values now look crunchy. Send that same file to a typical monitor viewed at 100% and the over-sharpened halos are immediately visible. There is no single value that is correct everywhere, which is why locking a sharpening number into the working file is almost always a mistake.
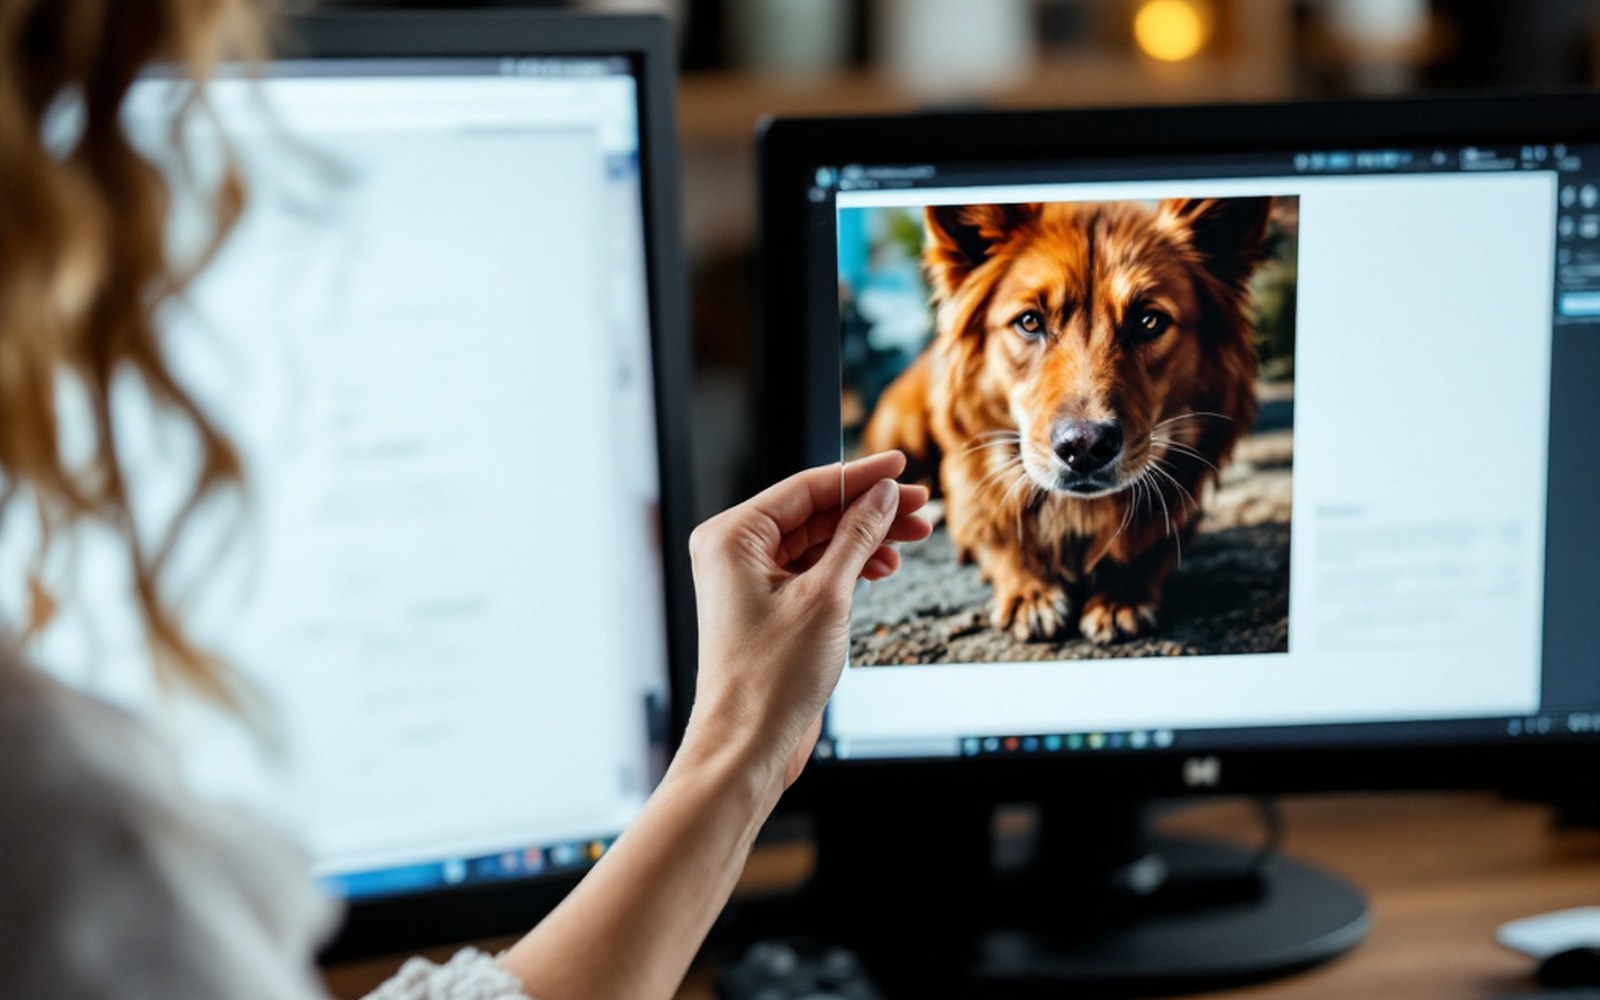
What the tools actually do
Unsharp mask — the name is genuinely old, borrowed from a darkroom technique where a blurred negative was sandwiched with the original to increase local contrast at edges — is still what most sharpening does underneath. The blur radius sets how wide the halo is; the amount sets how strong the contrast lift is at each edge; the threshold tells the algorithm to leave very similar adjacent tones alone, protecting skin and smooth sky from grain amplification. Those three numbers interact, which is why a preset that looks good on the export thumbnail can look terrible when printed.
Lightroom Classic and Camera Raw both carry a dedicated Output Sharpening panel in their export dialogues, distinct from the Detail panel used for capture sharpening. It offers Screen, Matte Paper and Glossy Paper as destinations, with an amount from low to high. This is a genuine separation of concerns: the Detail panel sharpening compensates for the sensor; the export sharpening compensates for the medium. Using only one, or collapsing both into one heavy pass in the Detail panel, is where halos come from.
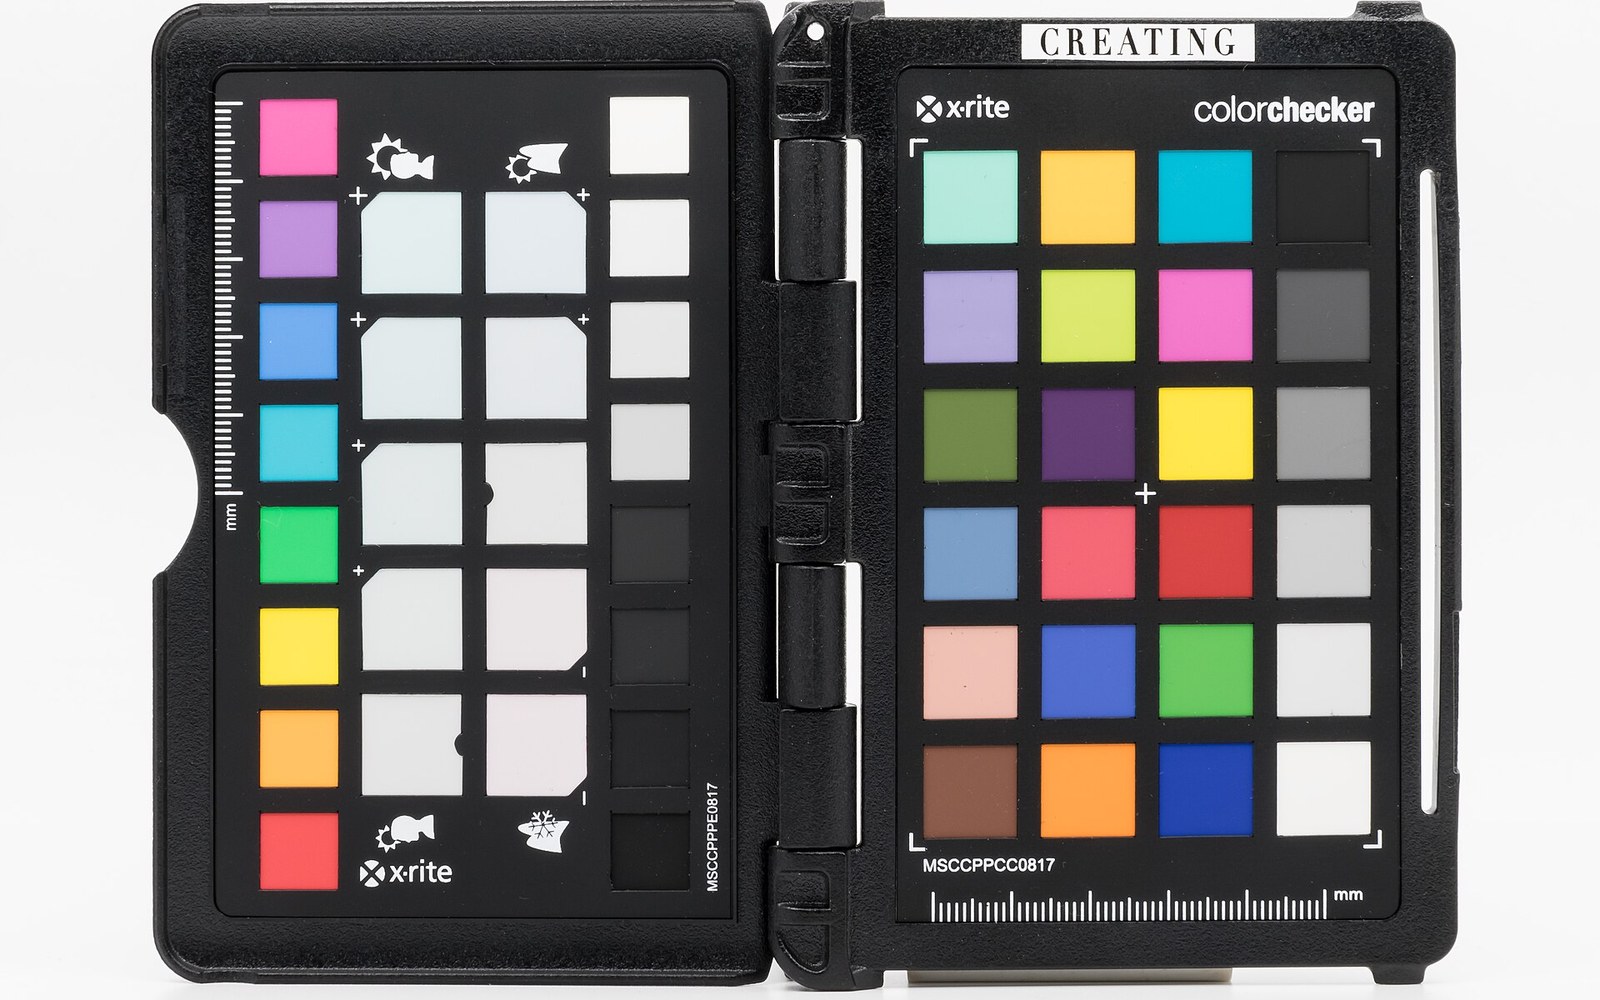
Capture One handles the same split with a Process Recipe, where sharpening is set per recipe rather than per image. DxO's approach in PureRAW and its full editor leans harder on its lens module corrections to recover edge detail before any sharpening is applied, which changes how much output sharpening is needed downstream. The principle is the same in all of them: the working file stays in a neutral state, and the destination-specific pass happens at output.
The honest test
The zone system ↗ that Ansel Adams formalised was fundamentally about previsualization — knowing the print before the shutter opened. Output sharpening asks for the same discipline from the other end: know the output before the export dialogue. A file going to a lab for a 60 × 40 cm print on Hahnemühle Photo Rag needs more sharpening than the same file uploaded to a gallery website that will resample it to 2000 pixels wide.
The practical method is unglamorous: keep a soft proof of the intended output, apply sharpening to a copy or inside an export preset, and judge it at the size and distance it will actually be seen. Screen: step back from the monitor. Print: hold the output. The file itself stays clean, and the sharpen-for-destination step lives in the export preset, not in the edit history.