Bayer arrays infer two-thirds of every photograph's colour
Before you touched a slider, three decisions were already made — and they shaped everything you are about to argue with.
The colour was never there, waiting
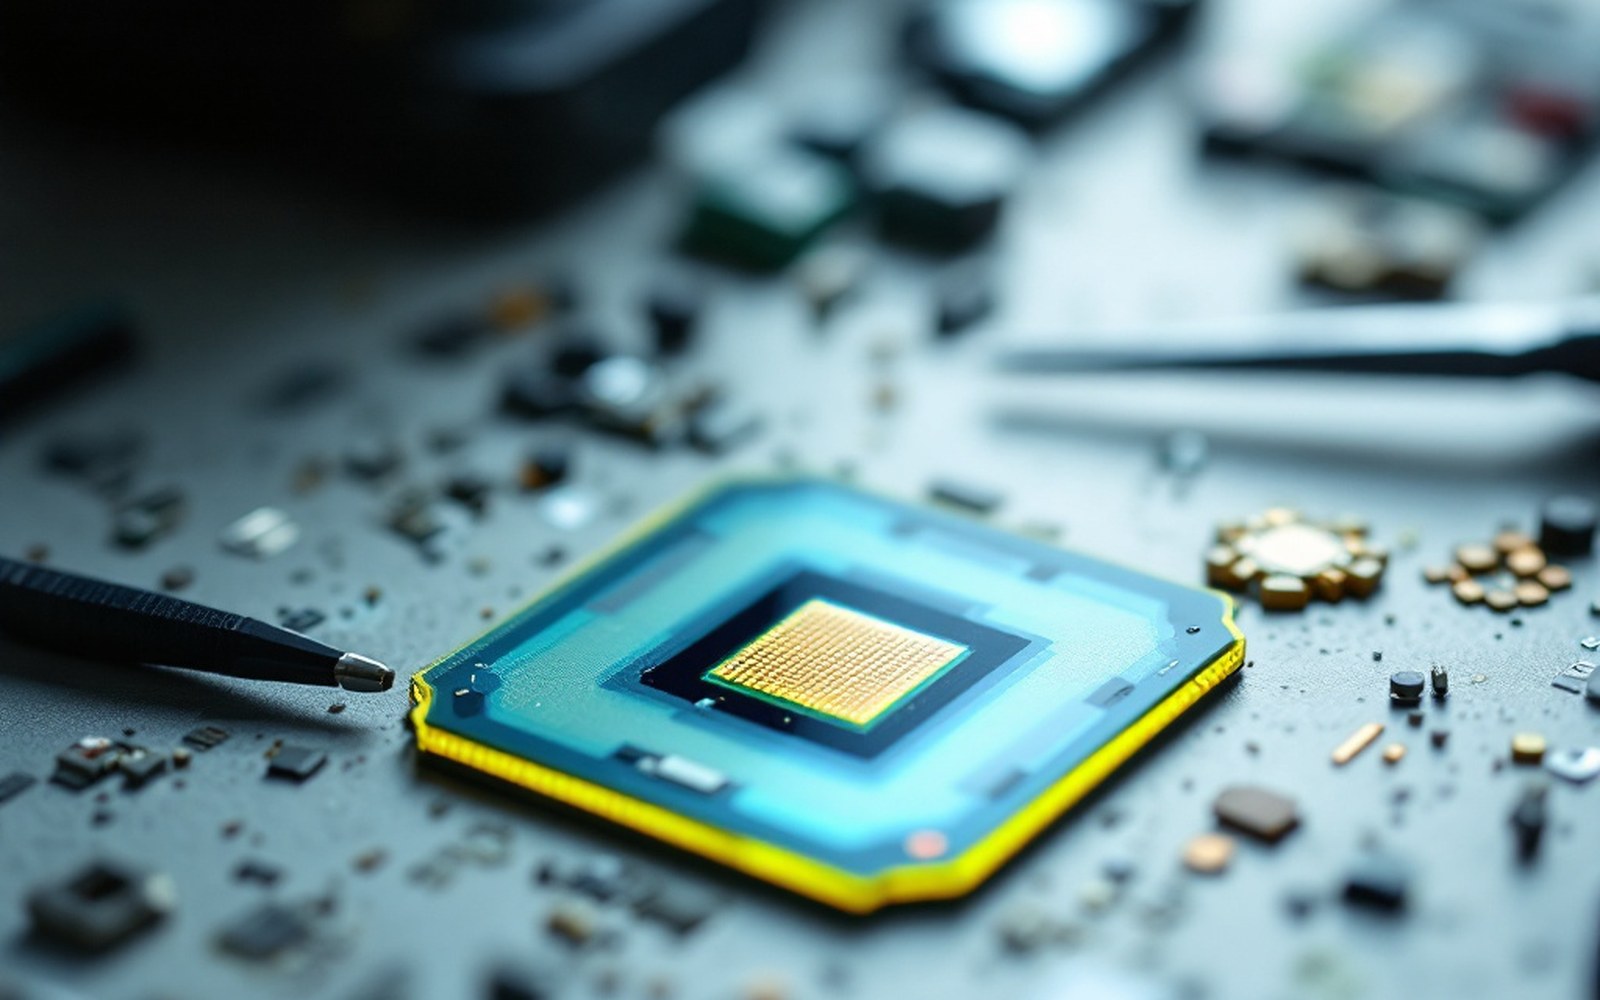
Almost every photographic sensor built into a consumer or professional camera is a monochrome device. It records brightness, not colour. To make colour, manufacturers layer a mosaic of red, green and blue filters over the individual photosites — the Bayer array that covers the vast majority of sensors, or Fujifilm's X-Trans variant which rearranges the same idea into a more irregular pattern to reduce moiré. Either way, each photosite catches exactly one channel. The other two channels at that location are not measured: they are inferred from the neighbours.
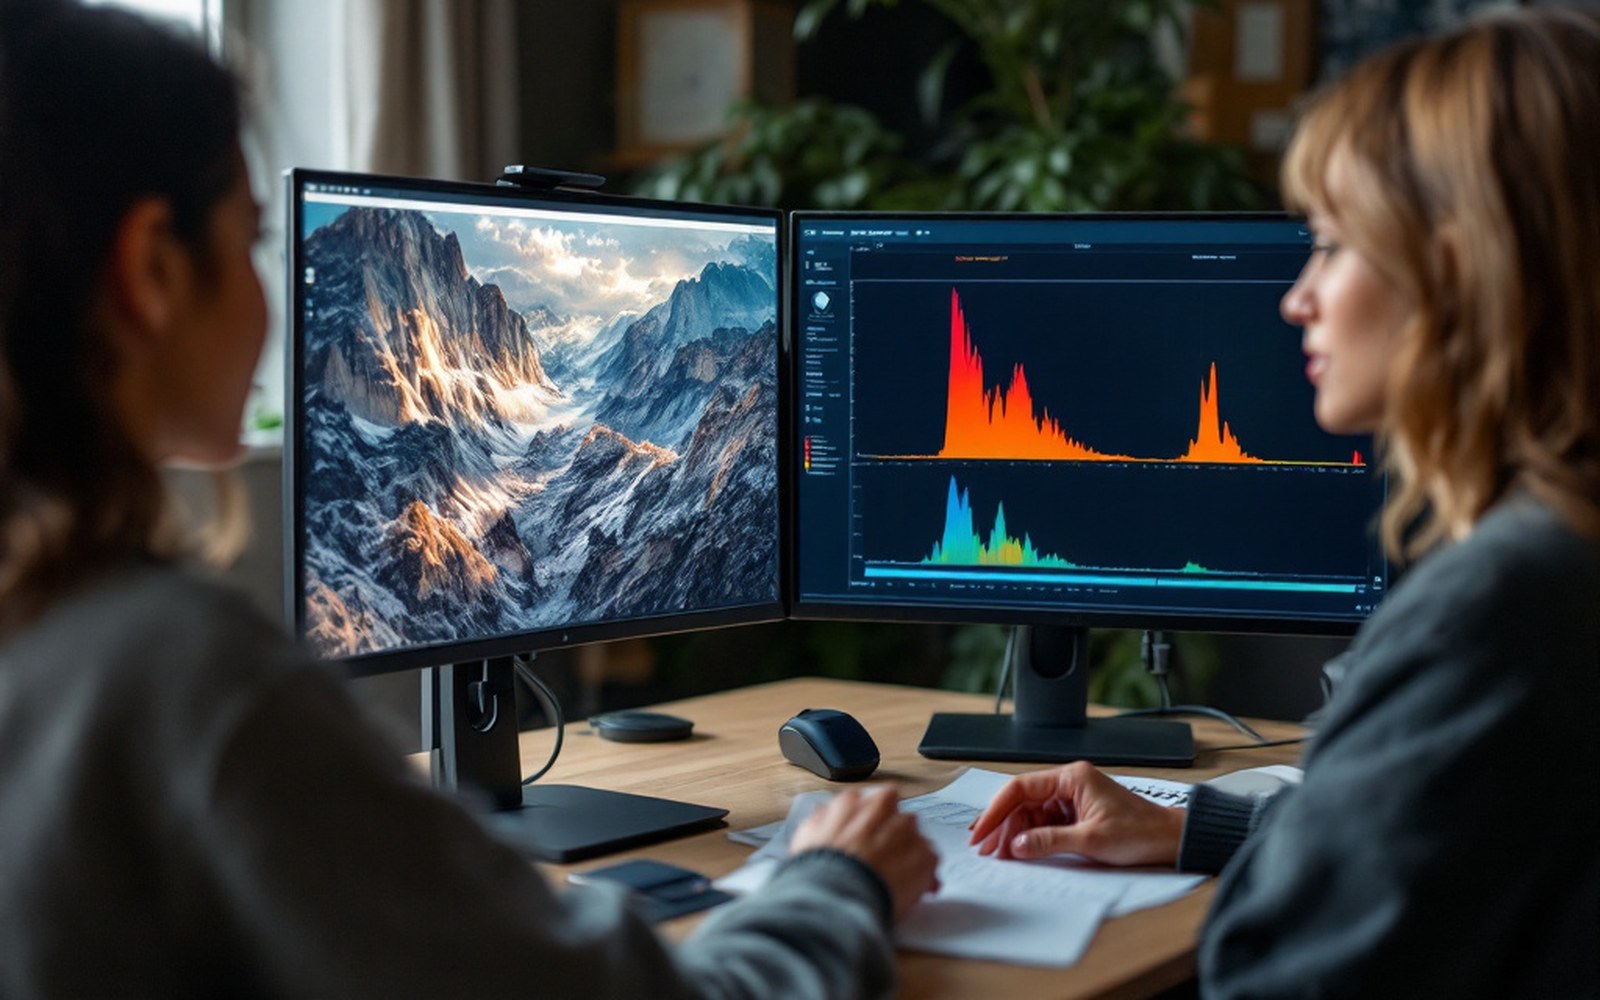
That inference is called demosaicing, and it happens before you see the file. Algorithms — bilinear at the crude end, adaptive, pattern-aware methods toward the better end — look at surrounding photosites and reconstruct the full-colour pixel. The reconstruction is a statistical best guess ↗, and different algorithms guess differently. Sharp diagonal edges in particular catch the simpler ones out and produce colour fringing that the better methods suppress. When Camera Raw, Capture One, and darktable each render the same raw file and produce subtly different sharpness and colour at fine-detail edges, demosaicing is often the first reason.
None of this is a flaw waiting to be fixed. It is the fundamental architecture of colour photography as it has existed since Bryce Bayer filed his mosaic filter patent at Kodak in 1975. The point is that what arrives in your raw converter is not a photograph — it is a set of raw sensor readings from which a photograph will be constructed, and the construction started without you.
White balance: the assumption your camera made
The second thing that happened before you opened the file was a white balance decision. Light has a colour temperature. Noon sun is a different blue-white from a tungsten lamp or a northern overcast sky. The camera takes a reading — from the scene, from a preset, from a grey card if you were organised enough to use one — and records a multiplier pair, scaling the red and blue channels relative to green, to bring neutrals toward grey.
In a JPEG that scaling is baked in and gone. In a raw file it is stored as metadata: a suggestion, not a command. Every converter reads it and applies it as the starting point, which is why an image opened from a memory card looks plausible rather than grotesque. But the metadata is only a suggestion. Change the white balance temperature slider in Lightroom, Capture One or darktable, and you are simply applying a different set of channel multipliers to the same sensor data. You are not recovering something that was lost; you are re-deciding what the camera assumed.
This matters because the decision compounds into every other adjustment. Set the whites too warm and the shadows fill with amber; set them too cool and a skin tone that looked right shifts toward grey. White balance is the first edit ↗, not a correction you come back to. Getting it wrong at this step costs time at every step that follows.
The tone curve you did not choose
The third decision was a tone curve applied by the converter itself as its default rendering. Sensor response to light is approximately linear — double the photons, double the signal. A linear render of a raw file looks flat and grey, because human vision does not work linearly; we are more sensitive to differences in darker tones than in bright ones. So every converter applies a baseline curve, an S-shape that pushes the blacks down, lifts the midtones, and rolls the highlights. This is not an artistic choice; it is the correction that makes an image look like what you saw.
The difference is that Lightroom's default curve, Capture One's default curve, and darktable's default (usually the scene-referred sigmoid or a filmlike base table, depending on which processing pipeline is active) are not the same curve. Capture One, which grew out of Phase One's scanning-back work with professional studio photographers, is known for a default rendering that flattens highlights slightly and keeps midtone contrast — the reason colour people change converters for. Darktable's scene-referred workflow applies a minimal initial rendering and expects you to build contrast deliberately with the filmic or sigmoid module. Neither is wrong; they start arguments in different places.
Ansel Adams understood this problem in the darkroom long before digital. His zone system was precisely an attempt to connect what the camera measured to what the paper could hold, via conscious, deliberate tonal decisions at every stage. The sliders you are moving now are the same negotiation, just happening in software rather than developer and fix.
What every edit after this is actually doing
Once demosaicing, white balance and a baseline tone curve are applied, the working image exists. The edits you make from here are adjustments on top of a starting position someone else chose. Dragging exposure up in Camera Raw is modifying a tone curve. Pulling the highlights slider is compressing the upper end of that curve. Shifting the colour grading toward teal in the shadows is rotating the hue of the darker channel multipliers. None of these sliders operate on raw sensor data — that ship sailed in the first milliseconds of opening the file.
This is not a reason to be anxious about your starting point. It is a reason to understand it. If Capture One's rendering starts closer to what you want — richer midtones, better held highlights — it is genuinely worth the difference from Lightroom's subscription (as of June 2025, Capture One's own pricing page lists a perpetual licence for a single camera brand at around US $179 and a full perpetual at around $299). If darktable's scene-referred pipeline starts further from what you want but gives you more headroom in the highlights before clipping, that is also a real and documentable difference worth understanding rather than fighting blindly.
An ICC profile, applied at the point of soft-proofing or export, describes the colour space the finished file will live in — whether sRGB, Display P3 or ProPhoto — and it, too, is a decision that changes how earlier edits read on screen and in print. The whole pipeline is a chain of guesses and corrections, and the first three — demosaic, white balance, base curve — were made before you touched anything.
Every slider you move is an argument with those decisions. The editors who get the best results are the ones who know what they are arguing with.